Some of you might have already seen it – GPS is live and happening!
It’s still in beta and not fully optimised, yet, but we couldn’t wait to make it available for everyone 🙂 In this post we’ll give you a quick rundown on how to set it up go through the implemented features.
Step 1: GPS setup
The implementation allows you and your crew mates to upload your GPS and heart rate data and compare, compare session results and gives you an overview of your training distance & training zones.
To upload your data to Tracklete, you have two options:
- upload fit, gpx or tcx files manually
- automatically sync your your files (we’ll focus on this one)
We’ll go through both approaches but start with the automatic syncing as it’s the most convenient. For the syncing you will need to create an account with Strava and link it to Tracklete. We’ve chosen to support Strava because it can synchronise with almost any HR/GPS watch and we want to support as many devices as possible from the start.
So … first thing, create an account at http://www.strava.com and link your Polar Flow, Garmin connect etc. to it.
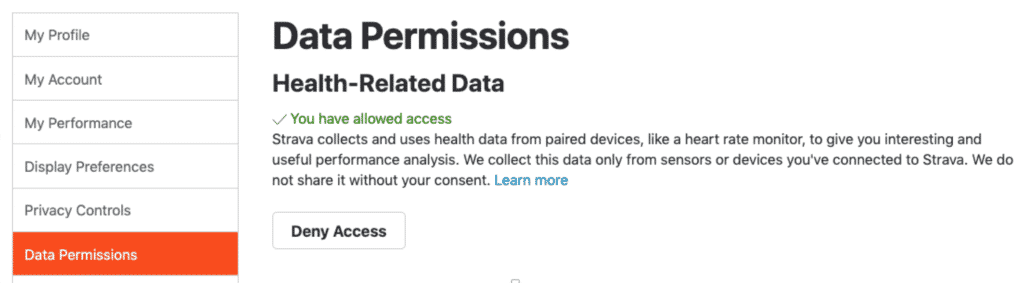
CAUTION: By default your heart rate data will not be synced. To sync it, go to strava.com, account settings and make sure syncing of health-related data is enable. See pic below
Next, set up the syncing between Tracklete and Strava as shown in the next few images.

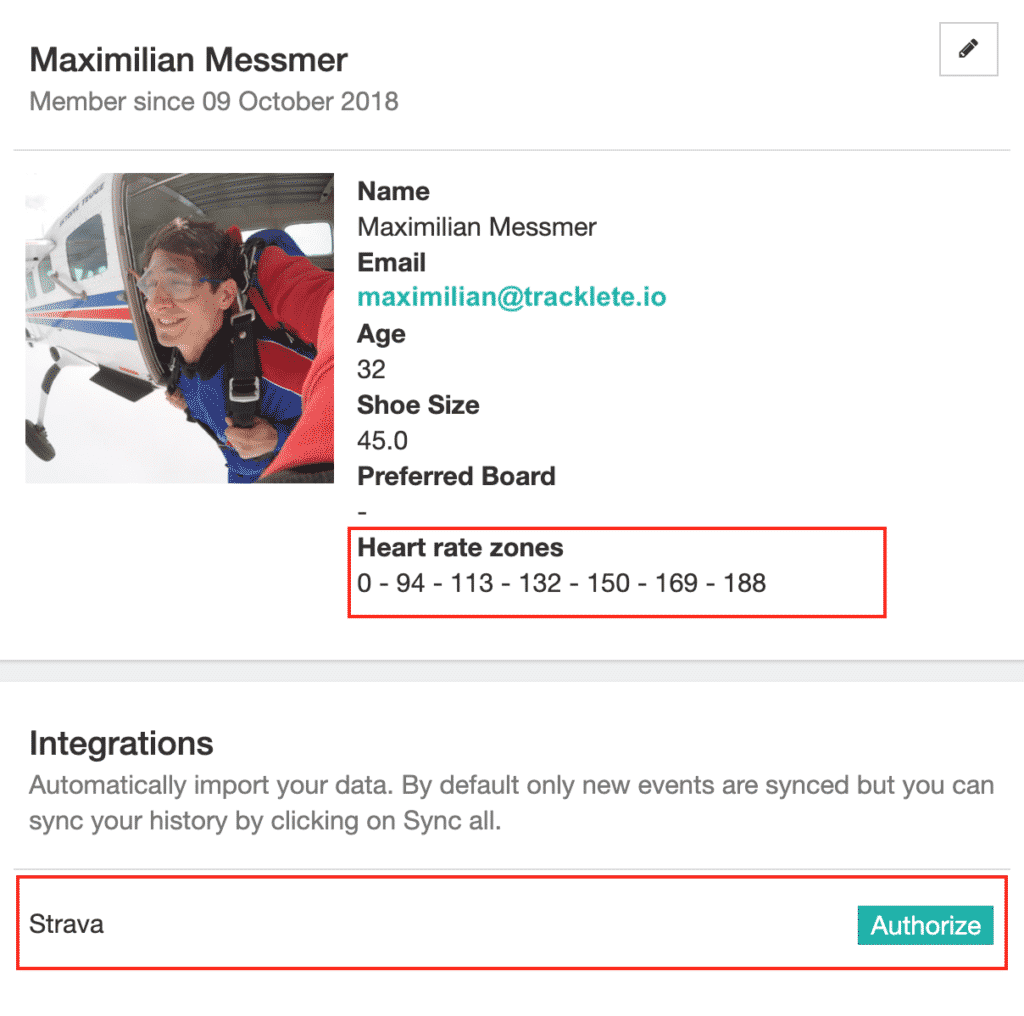
First, navigate to your profile. Next, under Integrations, authorise Tracklete to connect to Strava and you’re done! By default, only trainings added after the linking will be added to Tracklete. To grab all your trainings, hit the Sync all button.
We’ve made an educated guess about your HR zones based on your age, if you’ve previously determined them make sure to edit the zones while you’re on your profile.
Once you’ve authorized the linking to Strava, all future workout will be automatically synced with Tracklete.
To sync all of your workouts, hit the “Sync all” button in the integrations section of your profile!
Step 2: Linking data to trainings
If a training was already scheduled within a +/- 3h window of the recorded GPS data, the GPS & HR data is automatically linked to the event.
In case this does not work, or if you create an event after the GPS data has been synced with Tracklete, you can still manually link your GPS track to an event by going to the GPS (beta) page on your Dashboard
To link a GPS entry, navigate to the session (see below), select the event you want to link the file to, select the used equipment and hit LINK.
(All linked GPS tracks are listed at the bottom of the page GPS beta page.)
Manual file upload
Besides automatic syncing with Strava, you can also manually upload your .gpx, .tcx, or .fit files.
Simply navigate to the GPS (beta) page and hit the plus icon next to “Upload and link GPS files”.
Select the file you want to upload and link it to a workout, that’s it!
Step 3: Data analysis
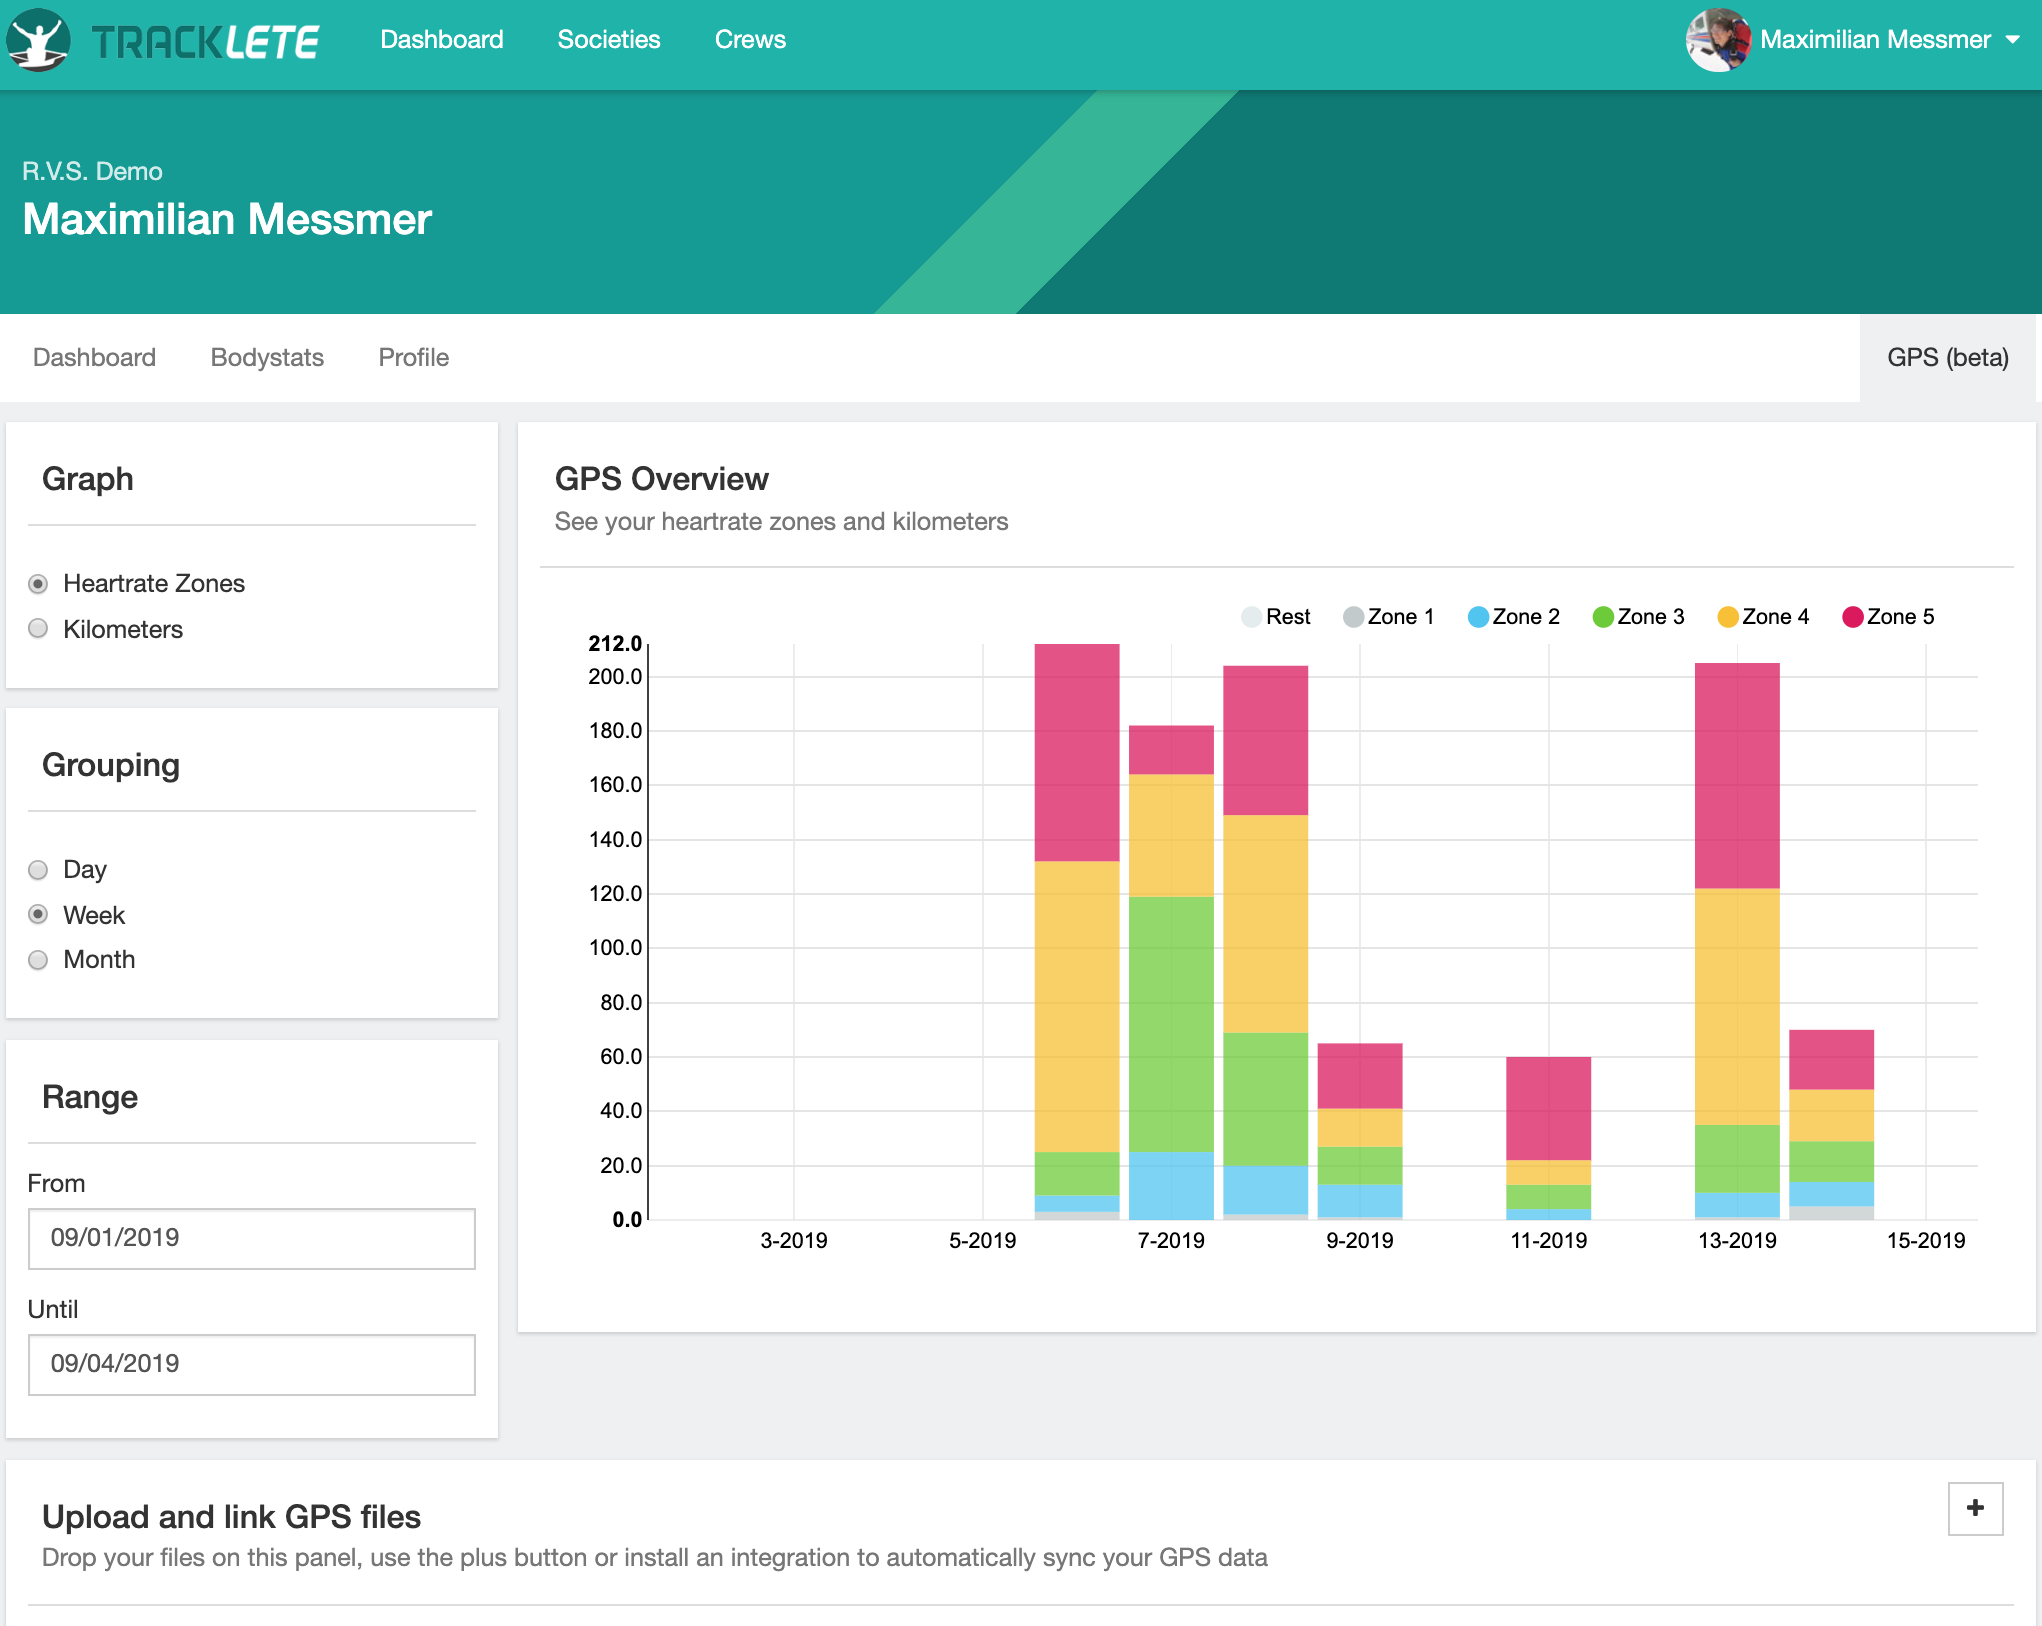
At the top of the GPS beta page you will see a summary of your workouts (see below).
To see the details of a session and compare your performance to your team mates, go to the training session you want to check. You can compare your speed and GPS tracks, as well as how much time you’ve spend in which HR zone.
More to come, soon …
That’s it for now! Keep your eyes open for more new features 😀
We’ll keep you posted!